How to use the Point of Sale 
The Point of Sale system allows you to handle in-person or phone sales. While you should encourage your members to transact online (saving you countless time), many organizations still operate an office and offer in-person sales. This system allows you to track those sales on a member profile just as you would with online sales.
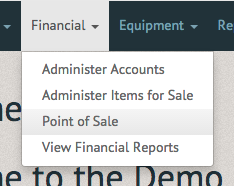
To access the Point of Sale system, select "Point of Sale" under the "Financial" tab.
Point of Sale is a feature of the club management software that allows you to find any item in your system and sell it to any member in your system. Begin by searching for an item in the "Products" section.
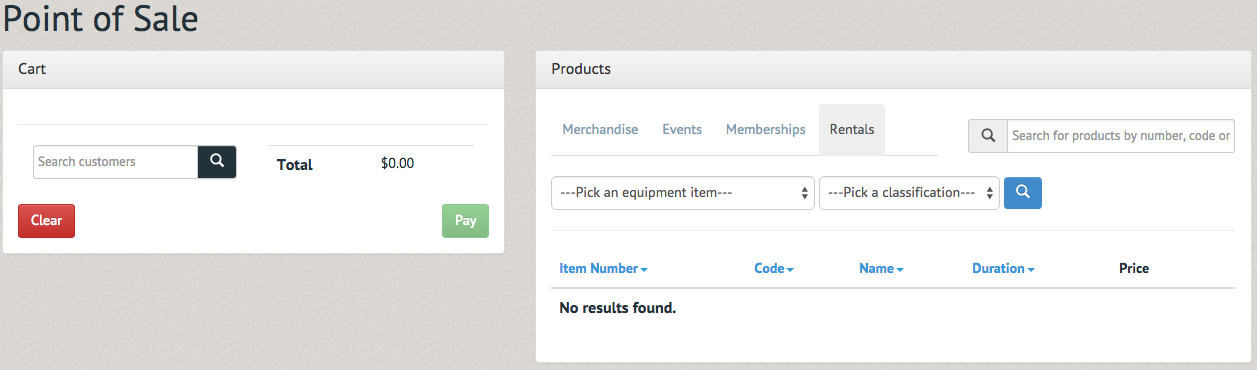
Items can be searched for by name, or in their respective categories (Merchandise, Events, Memberships, Rentals). If the item is desired for purchase, select the green plus next to it.
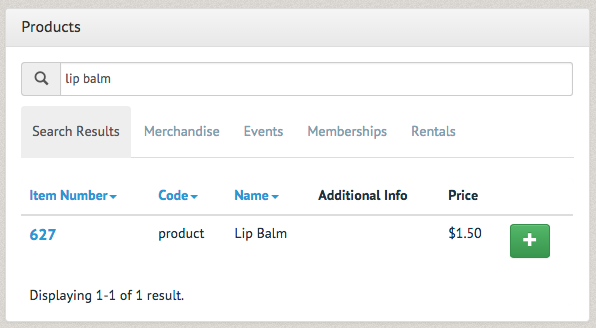
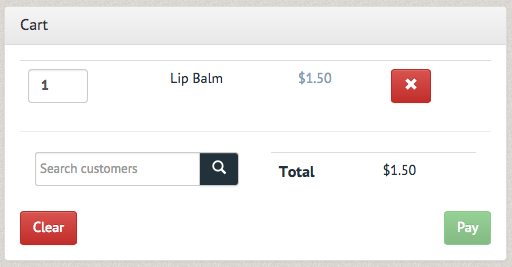
The item appears in the cart on the left side of the screen. Now it has to be assigned to a member. Type the user's name and select the magnifying glass to the left of the Total to find the customer in the system.
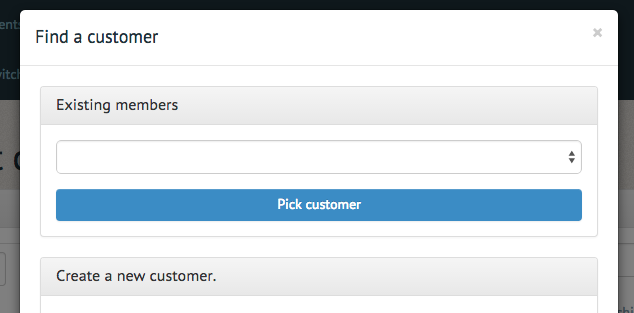
A pop up box will prompt you to either select an existing customer or create a new one.
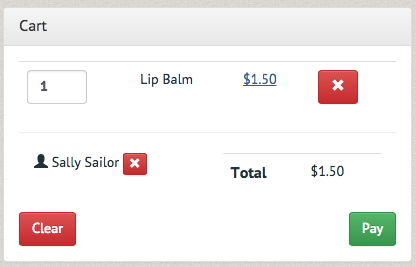
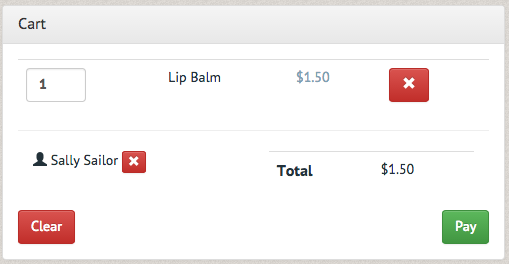
Whether picking a customer or creating a new one, you will notice the user is now listed in the Cart section. You can adjust the quantity of the item (for merchandise and rentals). If the total amount itself requires adjustment, it can be overridden by clicking on the price.
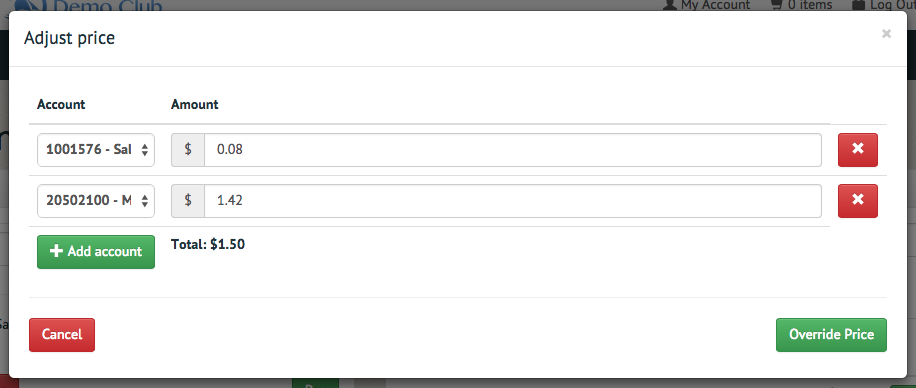
Overriding prices
The Adjust price pop up box allows you to change the price of an item, decide which account the extra money goes into or allows you to add a portion of the money to another account. Once you have altered the necessary information, select the "Override Price" option in the bottom right-hand corner of the box.
If the member and item are correct, select the "Pay" option in the bottom right corner.
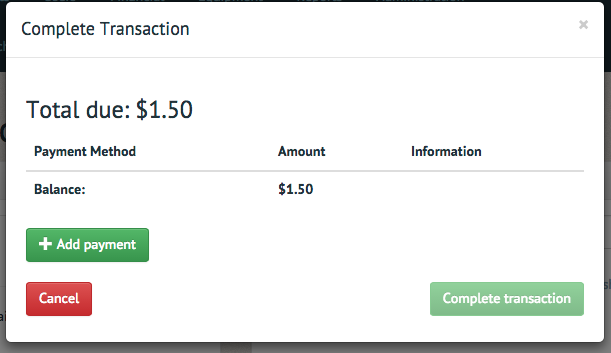
A pop up box will appear, prompting you to complete the transaction. First, select the "Add payment" option to the left of the screen.
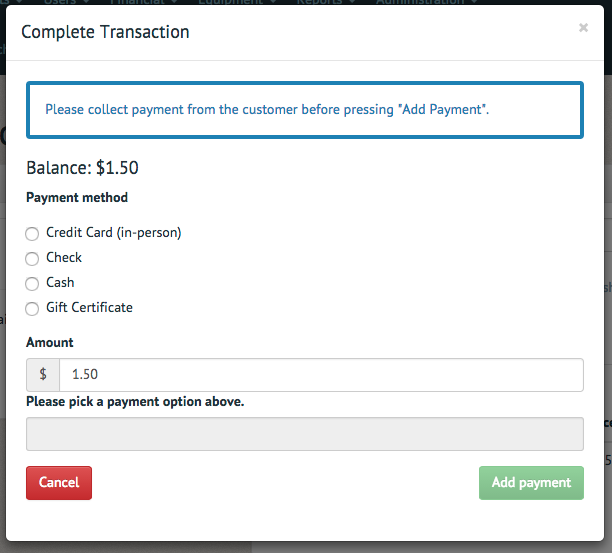
Select the payment method, then "Add payment" option in the bottom right hand side (Note: Future versions will accept or save credit cards directly through the system).
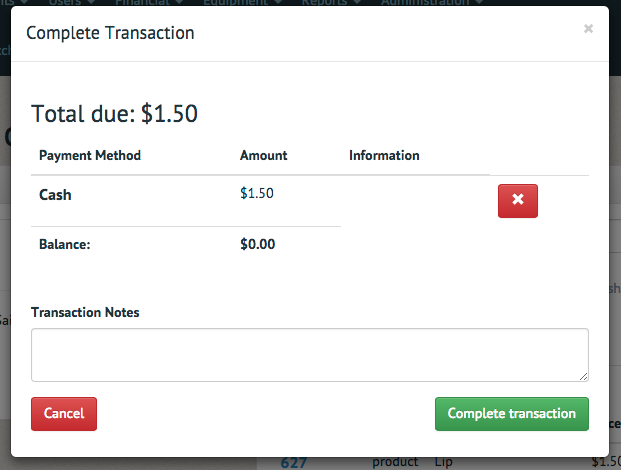
Select the "Complete transaction" option to submit the payment.
A pop up box will prompt you to confirm the member's contact information.
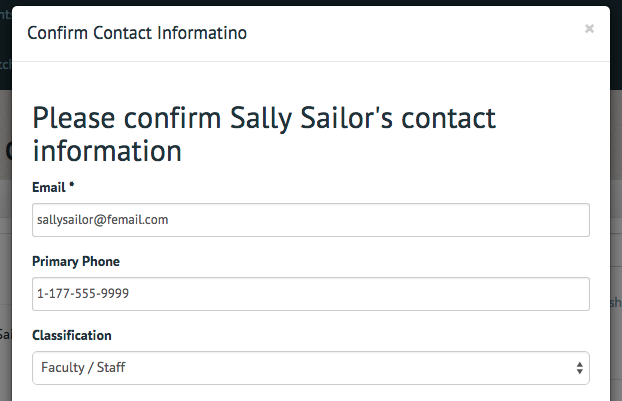
Go over this information with them briefly before selecting "Confirm contact info" at the bottom of the box.

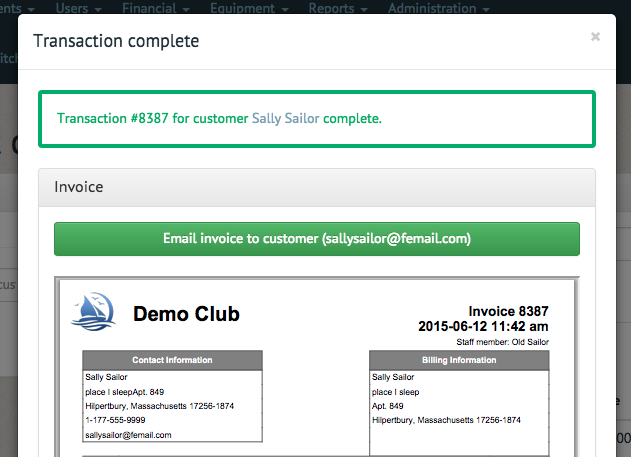
A final screen will appear, confirming the transaction has been completed and prompting you to email the customer an invoice (Note: You can also print the invoice using the built-in PDF viewer).