How to create a paid event 
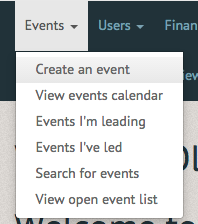
Making the event a paid event is also an available option. The first steps are exactly the same. Select "Create Event" under the "Events" tab.
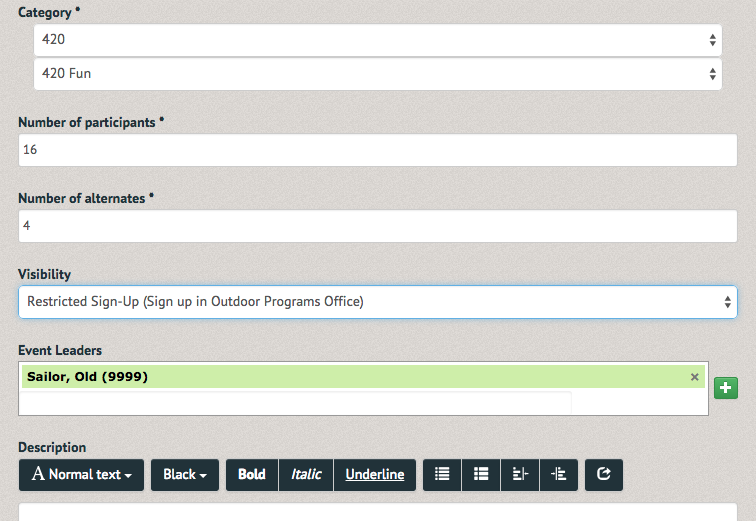
On the "Create" page you will be prompted to name the event, schedule a date and time, select the event category, the number of participants and alternates, visibility, the event leader and add a description.
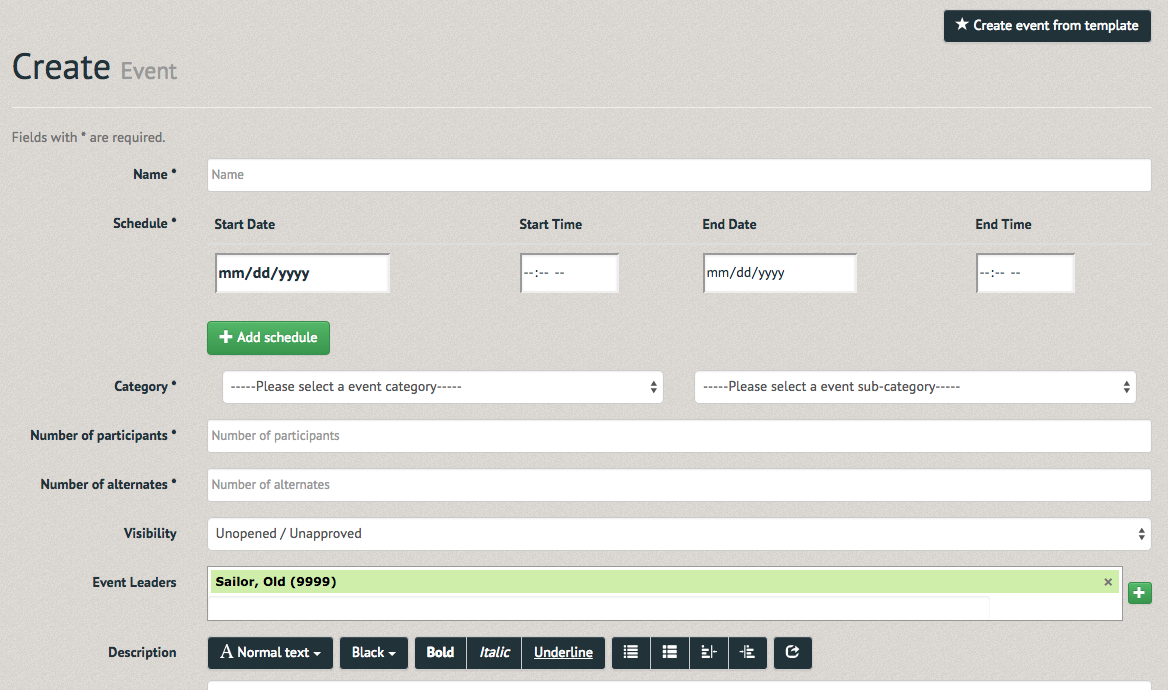
Visibility is more important for a paid event. If you would like the payment to be handled by the office staff, select "Restricted Sign-Up (Sign up in Office)".
If you would like to receive payment online, the event can be formatted to require online payment (no member can sign up for the event unless they pay to do so).
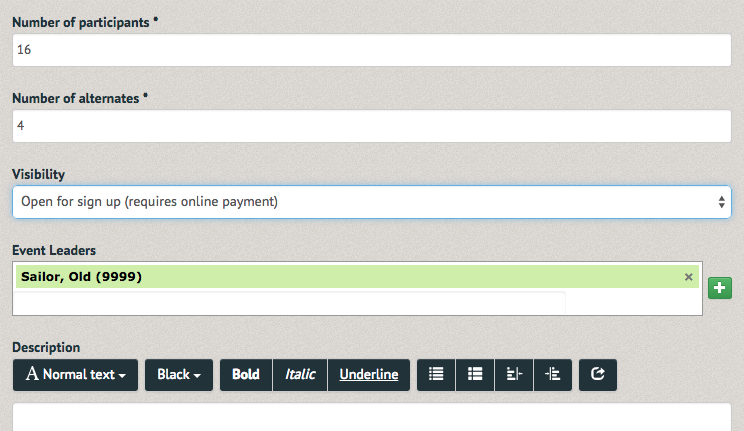
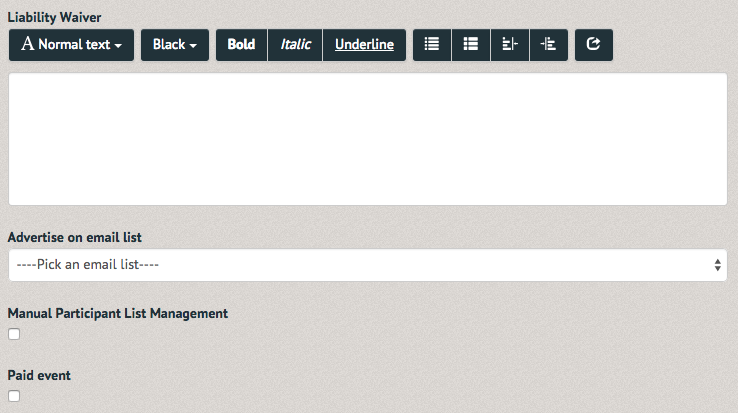
Additional options are available. The liability waiver is text users must agree with in order to sign up. You can view "signed" waivers from the list (Note: customers should check with their lawyers and/or insurance to ensure electronic waivers are acceptable for their business). The choice to advertise allows one to select an email list. Selecting manual participant list management ensures all participants must be assigned by Office Staff (seeHow to add a member to an event). Finally, at the bottom of the page, you can select the check box below "Paid event".
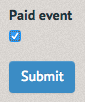
Once you have completed all the information and checked the "Paid event" box, select the "Submit" option below.
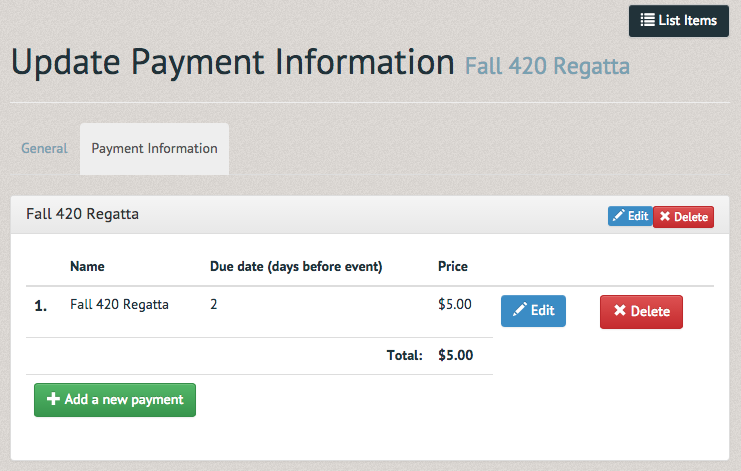
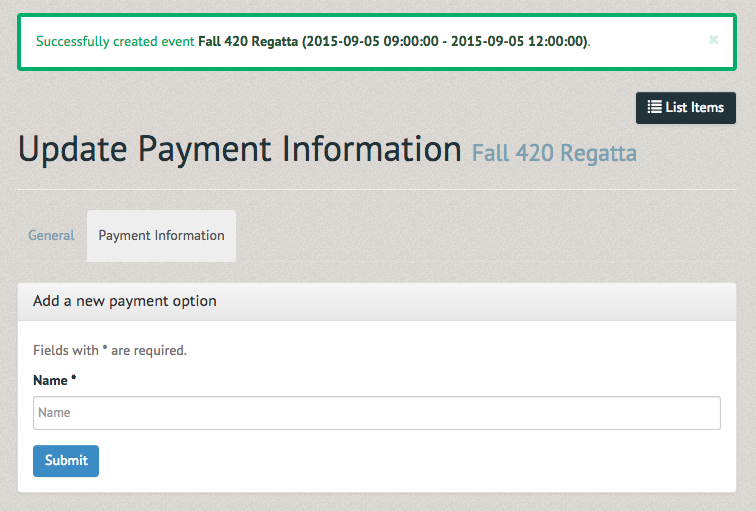
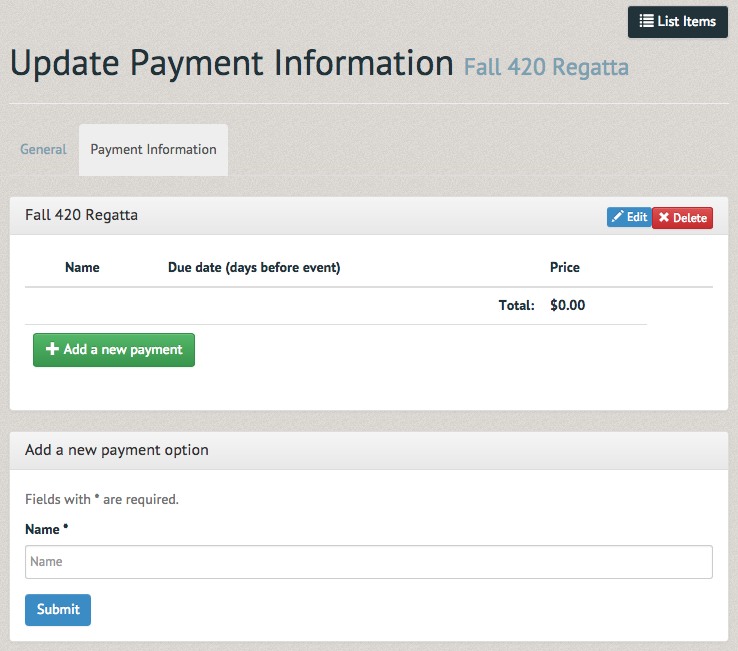
A green bordered notification will notify you that the event has been successfully created. Below, the Update Payment Information page will allow you to attach an account to the event. Begin by naming the payment option. Payment options can include early payment discounts (to ensure an event meets its quota early), and various trip packages that allow a selection of options for any club member's needs (rental fees, provided equipment, extended duration, etc).
Named, the Event will now display an "Add a new payment" option. Select this option. Payment options, such as deposit payments, remainder payments and early payment discounts may be attached here.
The Creating payment page allows you to insert a searchable name and code. You can also select when the payment is due (certain events require complete payment before a certain date to secure food, housing, etc), and chose to only accept in office payments (by checking the "Only allow for sale in the Point of Sale" box). Below this information you can select the account the payment will go in to and the payment amount. Some payments come in "payment packages." These payments are generally for events or lessons that require a down payment or multiple payments. Payment packages generally have set dates each amount must be paid by, though completing the payment at once is generally an option. Once this information is completed, select "Submit".

The payment information will now appear on Updated Payment Information page. If the amount is incorrect or the account is wrong, options to edit or delete the payment option are located on the righthand side.