How to manage Items for Sale 
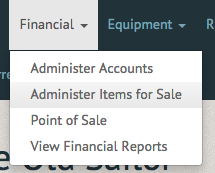
To manage Items for Sale, select "Administer Items for Sale" in the "Financial" tab.
The Administer Items for Sale page allows you to sort purchased items by category (Merchandise, Events, Memberships, Equipment Rentals), and properties (Item Number, Code, Name, Inventory, Active). You can also update or delete current items on the far righthand side of the listing, or add new items with the "Create new merchandise item" option in the top righthand corner.

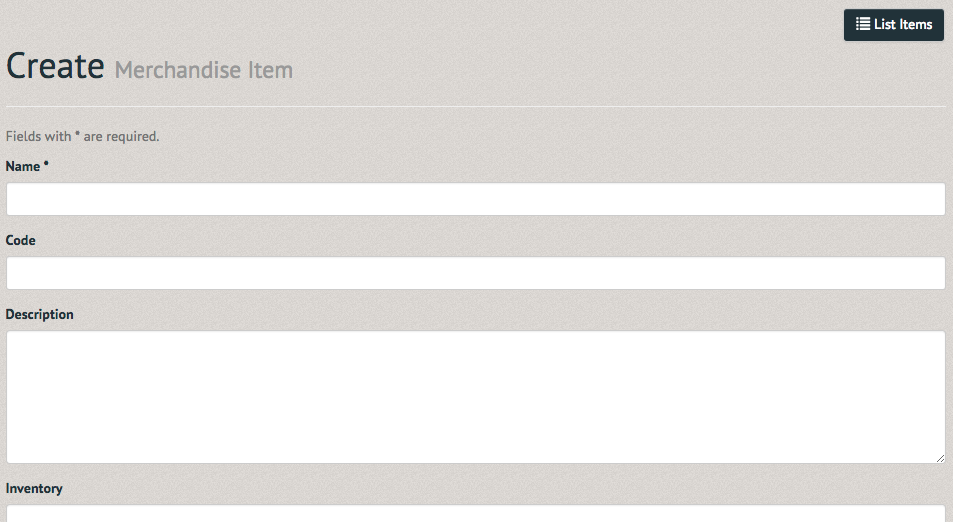
The Create Merchandise Item page allows you to input a name, code (used in the POS for quick search), description, inventoried amount, activity, POS and the account the item is attached to (Note: Pinfire Labs can set a "low inventory threshold" that sends a warning email once stock has decreased to a certain amount. This email template can be found in the How to manage Email Templates section). Once these have been completed select the "Submit" option at the bottom of the page.
Once submitted, the new item can be found through the search bar at the top of the Administer Items for Sale page.

Items in POS include Merchandise, paid events, memberships and rental equipment. Merchandise is generally one easy payment, while paid events, memberships and rental equipment can be more tricky. Paid events can be as simple as one online payment, or they can require package payments, including a deposit and a full payment with a deadline. Memberships can be as easy as a year long, single payment, or they can be selected by the season with set beginning and end dates. Memberships may also be priced differently based on the users classification (if they are a student, a senior member, a military veteran or a faculty/staff member). Rental equipment can be charged by the time a member spends using it, and may include late fees if the member returns the equipment past their anticipated duration of their rental. An item can be viewed (by selecting the eye icon), updated (by selecting the stylus icon) or deleted (by selecting the trash icon).

Viewing an item allows you to see the entirety of its information, including its item number and the account it is attached to.
Scroll down to the bottom of the page and you will find its purchase history as well.

To update the item, select the pencil icon on the far right-hand side of the item's listing.
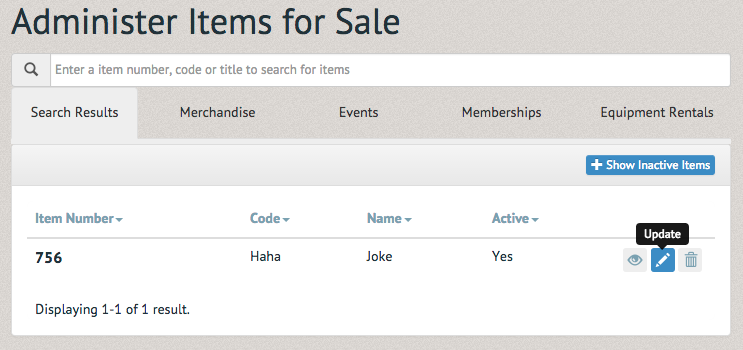
The Update item page allows you to alter all previously entered information (name, code, description, inventoried amount, activity, POS and the account the item is attached to). Once updated, select "Submit" at the bottom of the page.

A green bordered notification will appear at the top of the Item's page.

To delete the item, select the trash icon on the far right-hand side of the item's listing (Note: Once an item has been sold it cannot be deleted as it is necessary for record keeping purposes. To ensure it is no longer available for sale make it inactive).
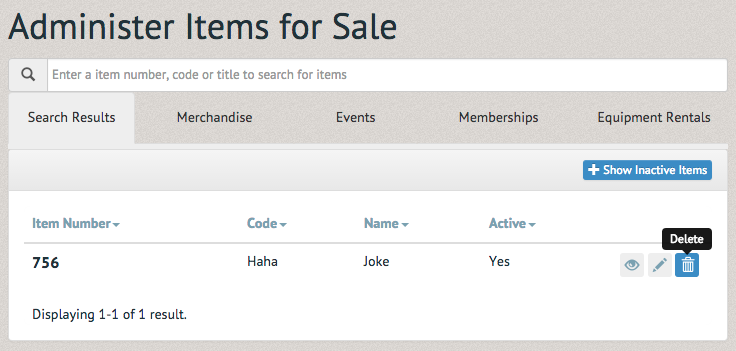
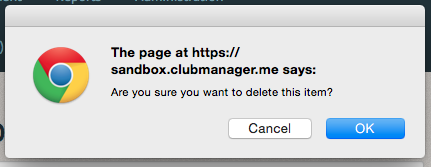
A pop up window will ask you to confirm the deletion. Once you select "OK" the item will disappear from the system without further notification.
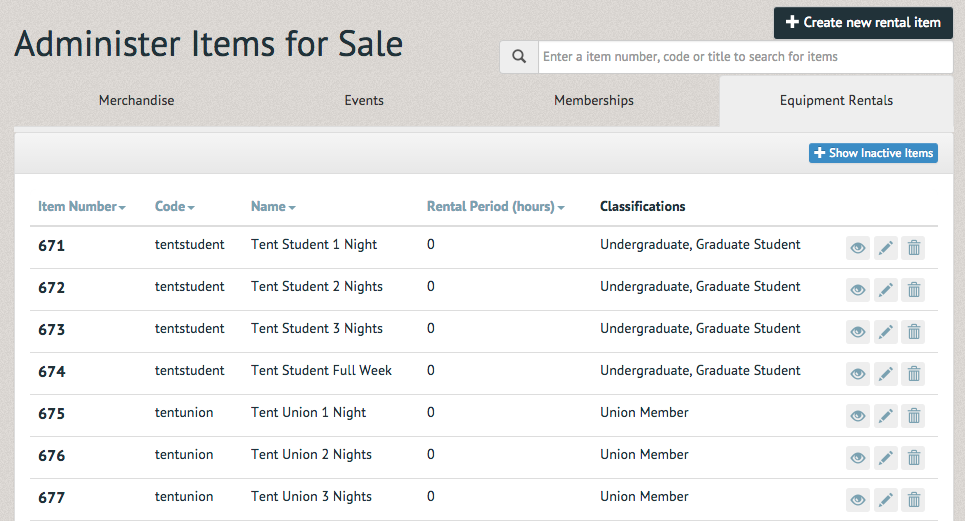
The Equipment Rentals category is sorted in the same style as other categories, with the additional configurations of Renal Period and Classification. The Rental Period and Classifications (of renters) are imperative to each rental item. To create a new rental item, select the "Create new rental item" option in the upper righthand corner of the page.
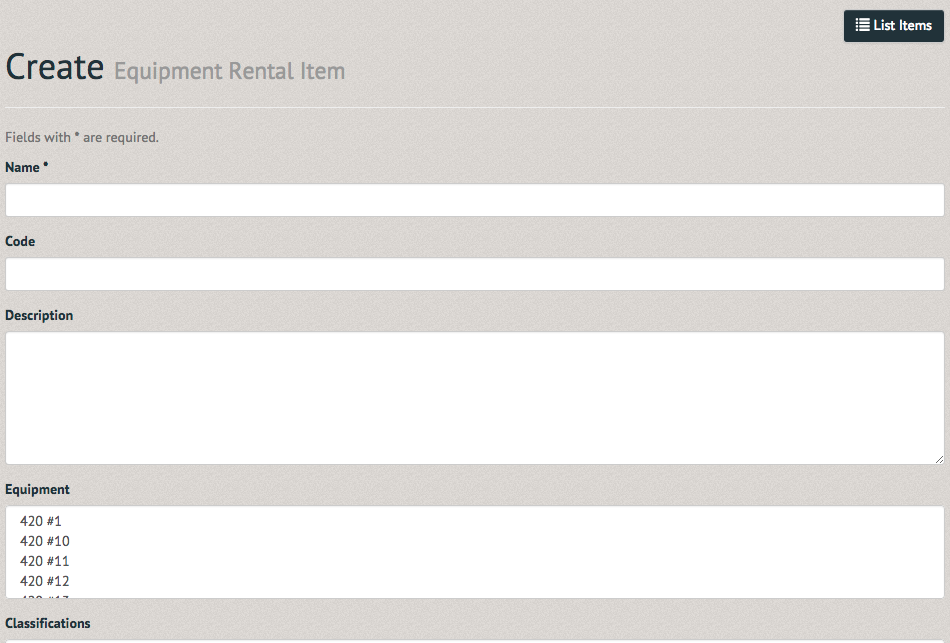
The Create Equipment Rental Item page will prompt you for the name, code, description, equipment, classification (if rental price is different for certain members of the public / organization), status (active or inactive), rental period and account linked with the item. Once the desired information is input, select the "Submit" option at the bottom of the page.
Viewing, updating, or deleting equipment rental items follows the same steps as any other item for sale. Select the eye icon to view the item, the pencil icon to update it and the trash icon to remove it from the system.

See How to administer items for sale to view an items transaction history. Note: event items should be managed through the respective event page.