How to manage Email Lists 
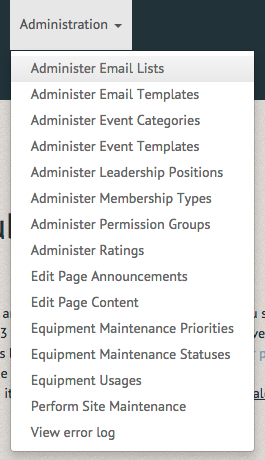
Through the use of a custom email-list engine, organizations can create lists of members on a variety of search criteria, the most often membership status and capability level (rating). Through this organizations can have an email list of all current members qualified to use certain equipment, ensuring important maintenance and logistical reminders are sent out. Unlike many other products on the market, our email-list system is fully built in. This means queries are performed live when an email message is received, ensuring all members who match the search criteria are forwarded the message, without lag time between membership/qualification and addition to the list. At this time, we only support emails to active and previous customers of your organization. If you plan on sending out bulk, marketing emails, please contact us to discuss options. To manage email lists, select "Administer Email Lists" in the "Administration" tab.
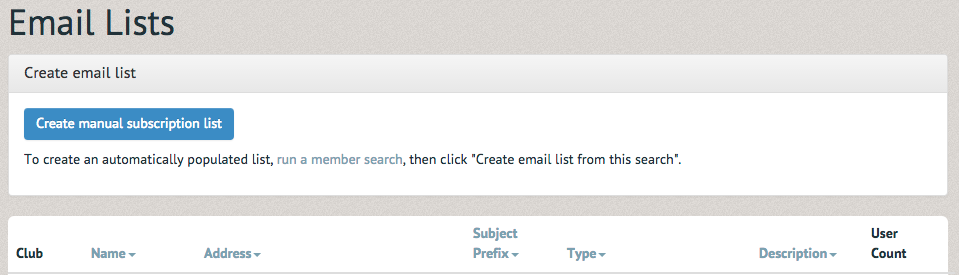
To create an email list, select "Create manual subscription list" (Note: You can also create an email list from a member search. Simply run a member search, then select the "Create email list from this search).
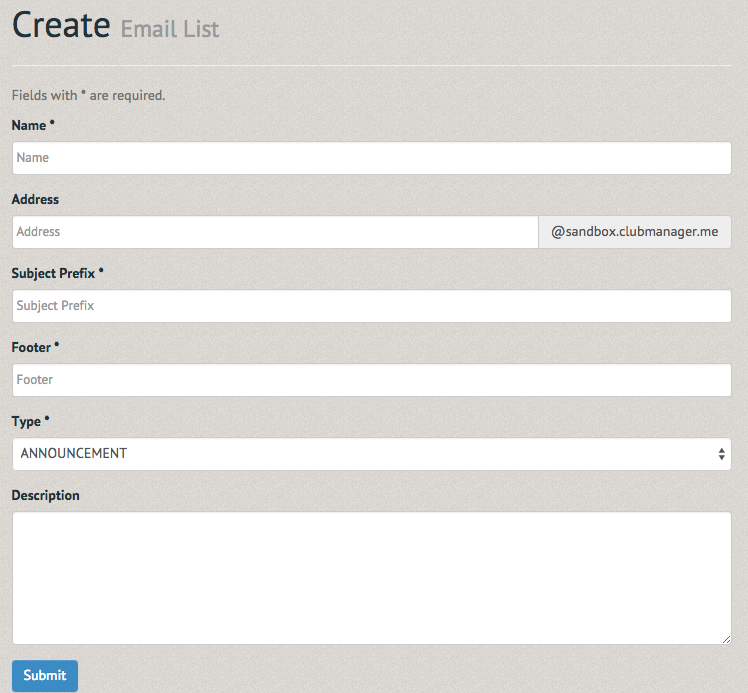
Creating a new email list requires a name, purpose, footer, and type (description may be helpful but is not required). There are a number of different email list types:
Discussion: anyone on the list can post to it, anyone in the system can manually join, including any automatic members
Announcement: designated senders can post to it and anyone in the system can manually join, including any automatic members, see
Restricted Discussion: anyone on the list can post to it, but only people with designated permissions can add people to the list manually
Restricted Announcement: only designated senders can post to it, and only people with designated permissions can add people to the list manually
Select "Submit" once this is completed.
A notification will appear at the top of the page to verify the success of the email list.

An email list can be updated or deleted once it has been created. To update the email list, select the pen on the far right hand side. This will return you to the "Create Email List" page.

To delete this email list, select the trash image on the far right hand side. A pop up will appear, asking you to confirm your delete, or cancel.
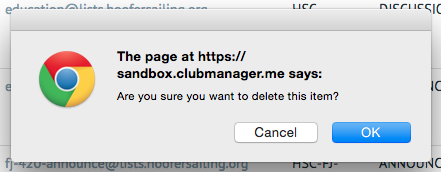
If "OK" is selected, the email list will be removed from the group of lists below. No notification will remind you of your action.