How to manage Accounts 
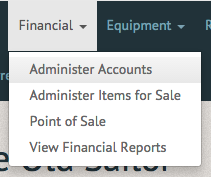
Accounts control where incoming revenue is assigned in reports. Generally you will want these to match the accounts in your accounting software. You can also manually create accounts as your organization requires. To manage Accounts, select "Administer Accounts" in the "Financial" tab.
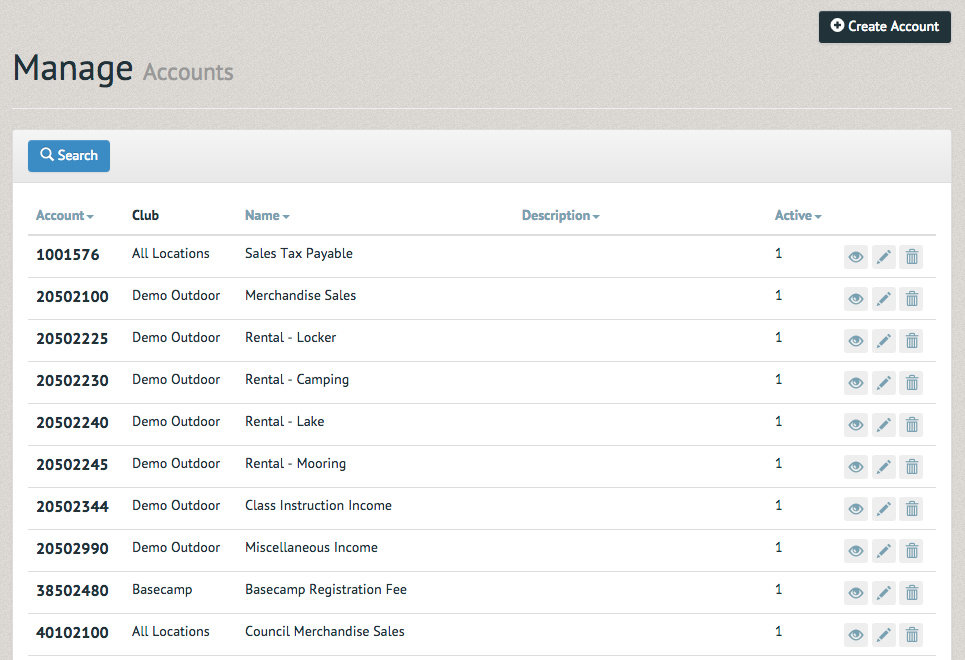
The Manage Accounts page allows you to view, edit or update current accounts or create a new account by selecting the "Create Account" option in the upper righthand corner.
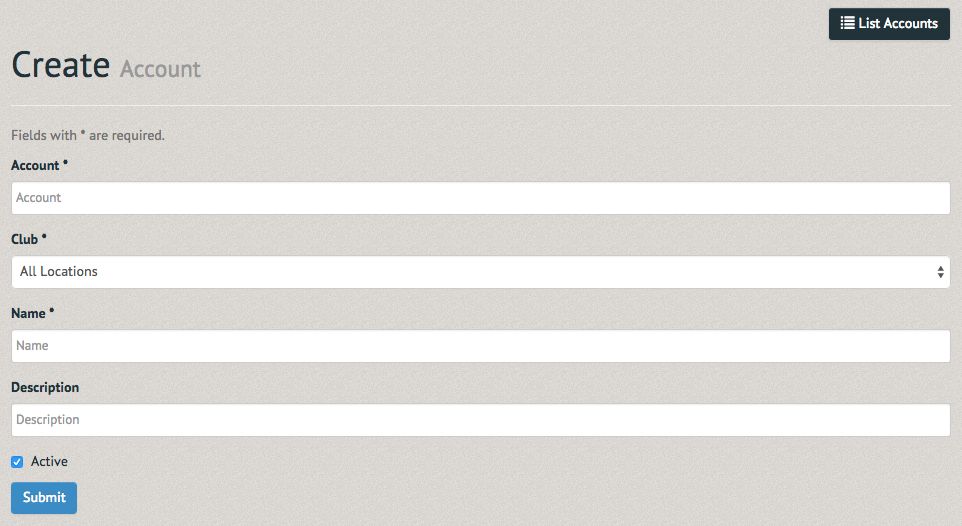
The Create Account page prompts you for an account number, the associated club, a name and a description. You can also decide to make it active or inactive by checking the box below the "Description" section. Once all the information has been submitted, select "Submit" at the bottom left-hand side.
The View Account page allows you to see the account's current information. In the top righthand corner of the page are the options to "List Account" (to return to the Accounts list, "Create Account" (to create another account), "Update Account" (to edit the account's information) and "Delete Account" (to remove the account from the system).

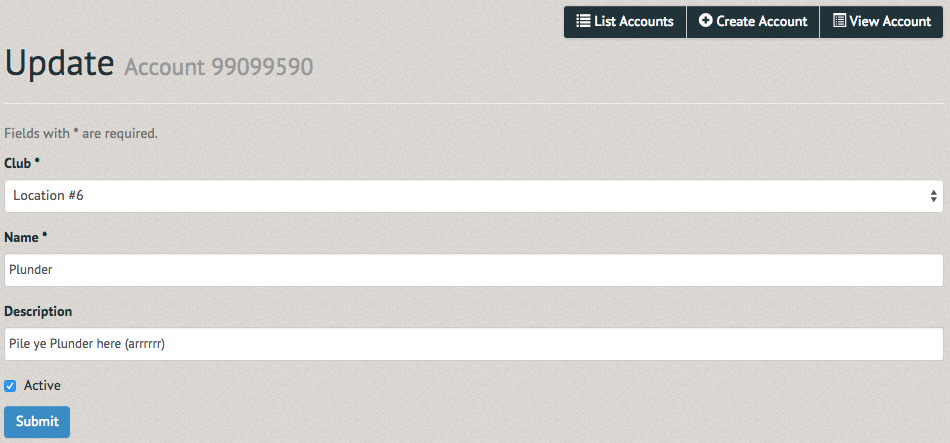
The Update Account page allows you to alter the associated club, name and description. Again, you can change the activity status (Note: To preserve reporting you cannot delete an account once it has been assigned to a sold item. If you need to delete a used account contact Pinfire support for assistance). Once everything has been updated, select "Submit" on the bottom left-hand side.
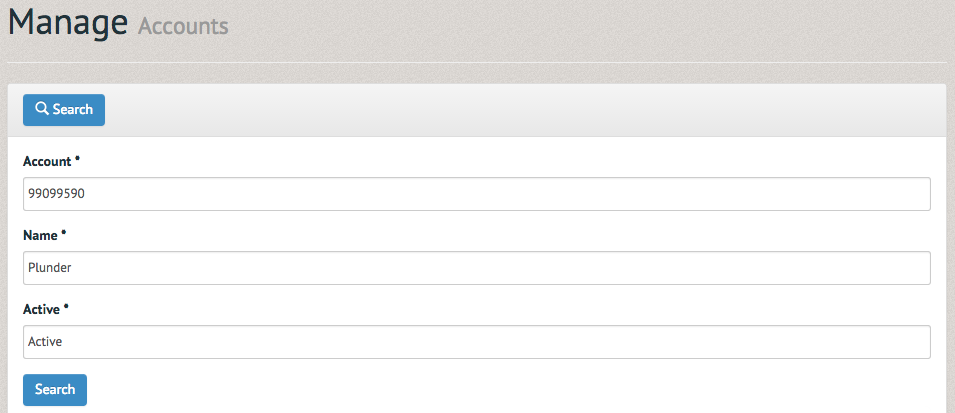
To find the new account, select the "Search" option at the top of the page and fill in the account number, name and activity status.
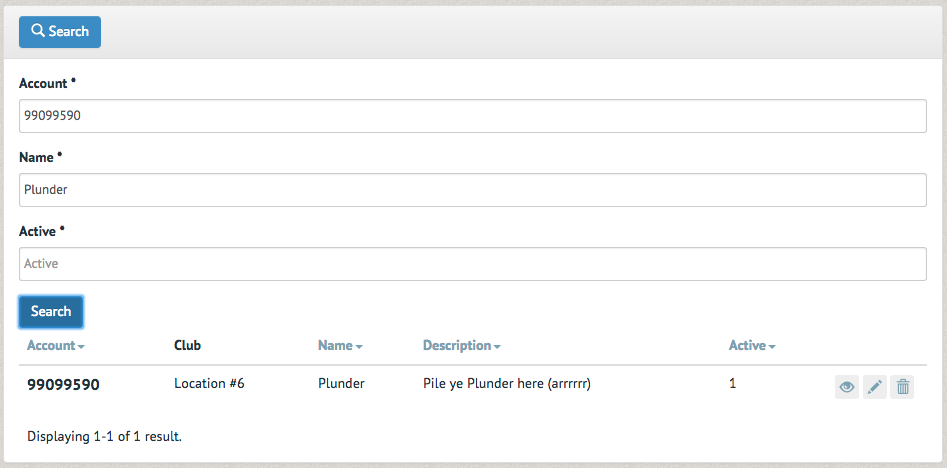
The results will appear below the search box. These can be viewed (by selecting the eye icon), updated (by selecting the stylus icon) or deleted (by selecting the trash icon).
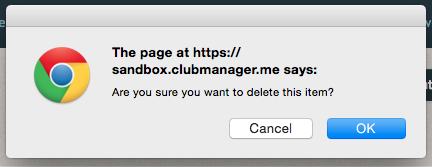
Once the delete option is selected a pop up box will appear, asking you to confirm the deletion. Upon selecting "OK" the account will be removed from the system.
